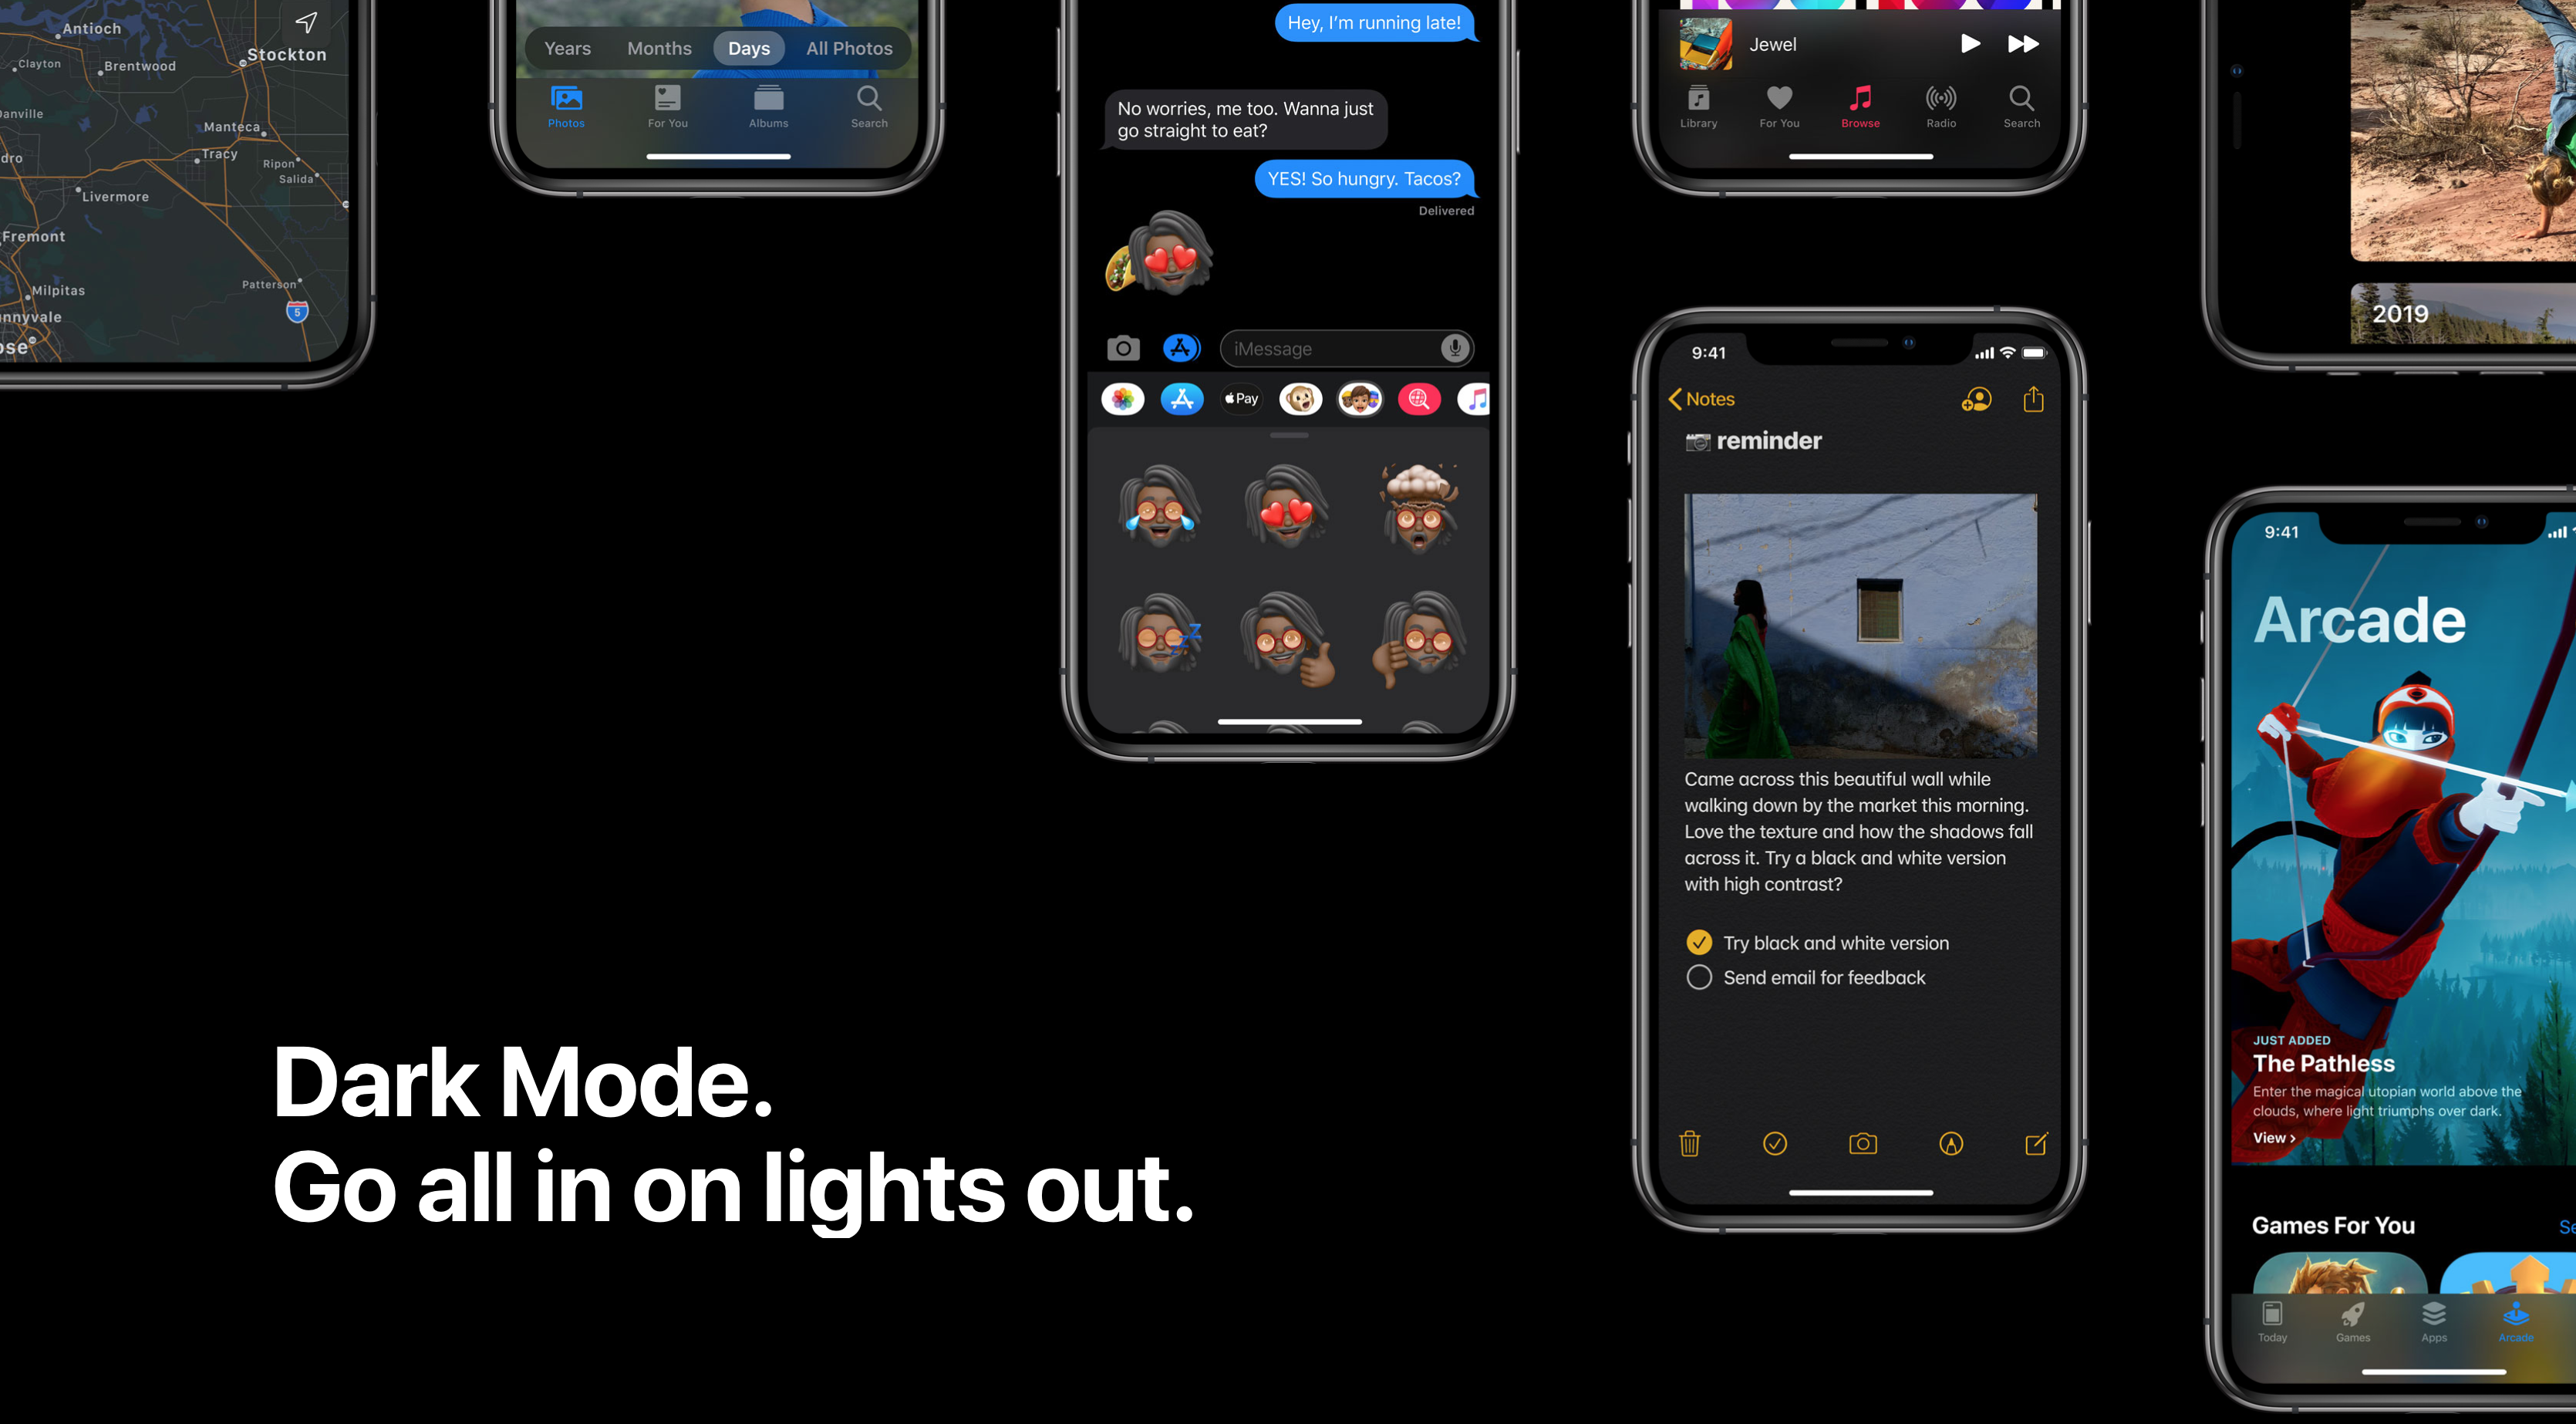
After years of waiting and anticipation, iOS 13 finally supports native Dark Mode! Users can choose to enable a system wide dark appearance that will be supported in all official apps. As we'll see, Apple has also made it easy for developers to add dark mode support with minimal effort.
Although building with the new iOS 13 SDK automatically updates system controls, Apple strongly recommends that all developers check and update their apps to make sure that all text and images are displayed correctly when dark mode is enabled.
In this blog post, we'll explore best practices and tips to support dark mode in your app and allow users with dark mode enabled to get the same great experience they do with light mode!
Overview
Good news: enabling dark mode support in your app is as easy as building with the new iOS 13 SDK! When using the latest SDK, iOS will automatically update system controls such as switches, table views and buttons.
However, iOS does not automatically switch images or text colors, so you will probably notice quite a few issues with your app in dark mode.
Luckily, thanks to the numerous improvements Apple has made to asset catalogs in the past few years, most iOS apps should be able to adopt dark mode without significant code changes.
Adapting Colors
System Colors
iOS 13 now includes new system colors in UIColor, such as a label color. By using the new system colors available in iOS 13, your app can automatically support dark mode and high contrast modes.
label.color = UIColor.secondaryLabel
Custom Colors
Although it is strongly recommended that you use system colors to automatically adapt to interface changes and ensure consistency across apps, you may want to support dark mode on custom colors.
Using iOS 11's new asset catalog colors makes it trivial to support dark mode by adding dark versions of custom colors.

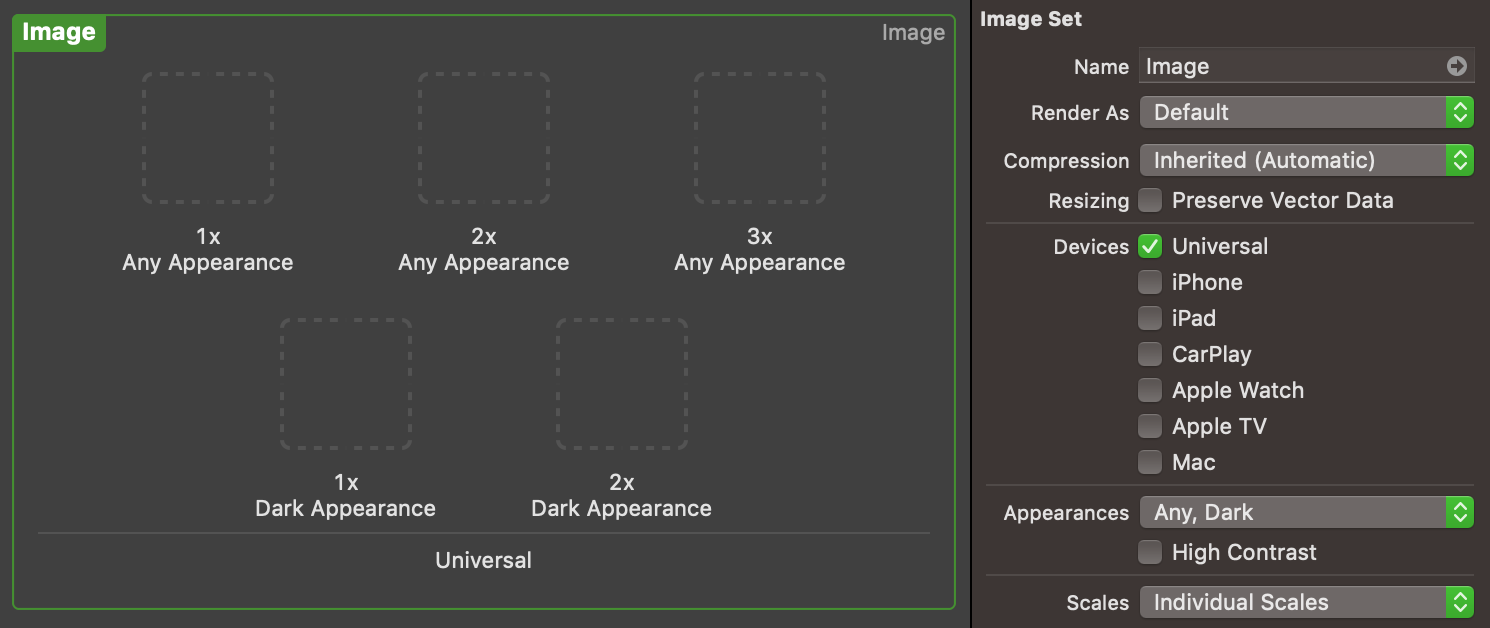
To add a dark version of a asset catalog color, just select the color in the catalog, then switch Appearances to Any, Dark in the Attributes Inspector. Then, add the dark appearance version of the color.
That's it—iOS will automatically switch to the dark version of asset catalog colors when dark mode is enabled, with no extra work from you!
Not using asset catalog colors yet? Asset catalog colors make it much easier to support dark mode! Learn more about how to use asset catalog colors with this great blog post by Antoine van der Lee, or see Detecting Dark Mode Programmatically below if you'd prefer not to switch.
Adapting Images
While most images should look fine in dark mode, especially if you are using template images which will automatically change tint if you put in the work to automatically switch colors (see Adapting Colors above), you might want some images to have a different color or look on dark mode.
Like with asset catalog colors, it's trivial to automatically switch images in the asset catalog when dark mode is enabled. To add a dark version of any image, just select the image in the catalog, then switch Appearances to Any, Dark in the Attributes Inspector. Then, simply add the dark appearance version of the image.
Detecting Dark Mode Programmatically
There may be some cases in which you want to detect appearance changes programmatically and change your user interface accordingly.
⚠️ Warning: When responding to appearance changes, make sure to update your interface as quickly as possible. Do not perform tasks that are unrelated to the appearance change, as it may result in delays, especially if the user switches appearance from Control Center.
override func traitCollectionDidChange(_ previousTraitCollection: UITraitCollection?) {
    super.traitCollectionDidChange(previousTraitCollection)

    let userInterfaceStyle = traitCollection.userInterfaceStyle // Either .unspecified, .light, or .dark
    // Update your user interface based on the appearance
}
Detecting appearance changes is trivial by overriding traitCollectionDidChange on view controllers. Then, just access the view controller's traitCollection.userInterfaceStyle.
However, it is important to remember that traitCollectionDidChange may be called for other trait changes, such as the device rotating. You can check if the current appearance is different using this new method:
override func traitCollectionDidChange(_ previousTraitCollection: UITraitCollection?) {
    super.traitCollectionDidChange(previousTraitCollection)

    let hasUserInterfaceStyleChanged = previousTraitCollection.hasDifferentColorAppearance(comparedTo: traitCollection) // Bool
    // Update your user interface based on the appearance
}
If you want to access the current trait collection from anywhere, you can also use UITraitCollection.current.
Overriding the User Interface Style
Entire App
The system automatically opts in any app linked against the iOS 13.0 or later SDK to both light and dark appearances. If you need extra time to work on your app's Dark Mode support or want to keep your app in a single style, you can opt out by including the UIUserInterfaceStyle key (with a value of Light or Dark) in your app’s Info.plist file. Setting this key causes the system to ignore the user's preference and always apply the specific appearance to your app.
⚠️ Note: Supporting Dark Mode is strongly encouraged. Use the
UIUserInterfaceStylekey to opt out only temporarily while you work on improvements to your app's Dark Mode support.
Specific Screens
In iOS 13, you can now override the user interface style on specific views or view controllers. For example, you may want only a certain view controller to be in dark mode, while the rest of your app is in light mode.
To override the user interface style, just override this variable in the top view or view controller and it will propagate down to subviews:
// Inside a UIViewController
override func viewDidLoad() {
    super.viewDidLoad()

    // Always adopt a dark interface style.
    overrideUserInterfaceStyle = .dark
}
Conclusion
In this tutorial, we explored how to make your app look great in iOS 13's dark appearance, and adapt images, colors, and custom user interface elements to match the new style.
I hope this tutorial helped you out, and I can't wait to see all the great dark mode apps that are sure to come in the fall!
Have questions or feedback? Feel free to reach out on Twitter or email me. Also, make sure to subscribe to my weekly newsletter below so you don't miss a single post! Thanks for reading 🌙