Asset Catalogs are perfect for storing collections of images which you can then display in your app. However, it's easy to accidentally cause crashes or have to deal with optionals. In this tutorial, we'll look at 3 different ways to use asset catalog images in our code.
The 3 methods to load images from asset catalogs are image literals, the frequently-used UIImage(named:) initializer, and finally, a custom UIImage initializer.
If you'd prefer to jump straight to a demo app, feel free to click here to go to the Conclusion. There, you'll find an Xcode Project containing all of the examples from this tutorial.
Method 1: Image Literals
The first way to load images from asset catalogs is using image literals, which were only introduced in 2016 but have already become very popular.
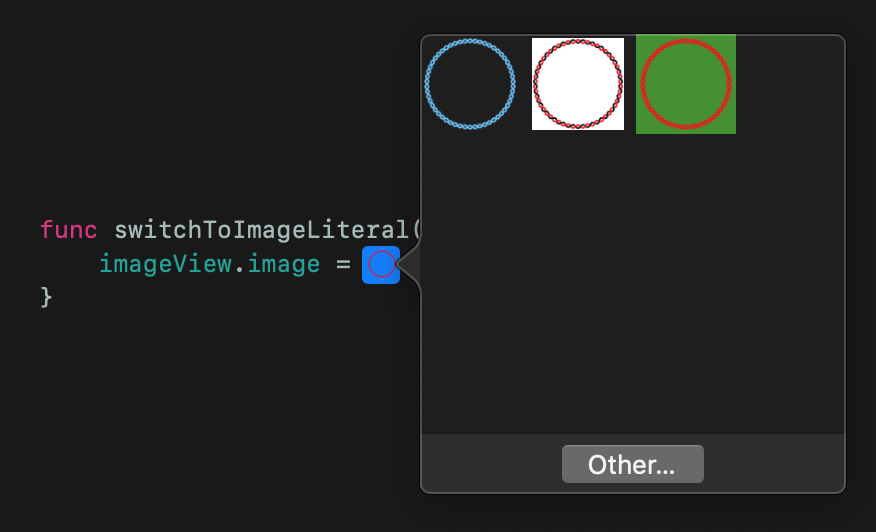
Image literals are easy to use - to use them, just start typing image literal in Xcode and autocomplete will create one for you. Then, select an image from the popup (if the popup failed to show automatically, just double click the thumbnail shown in your code).
As image literals are really just special code, displayed differently in Xcode, you can also create one like this:
let image = #imageLiteral(named: "ImageName") // UIImage
While image literals are great and easy to use, they do have some drawbacks. Apart from having to select an image from low quality previews, it's also hard to see the name of the image. Additionally, if the image is deleted from your code at a later date, the image literal will cause your entire app to crash with a nondescript error.
Method 2: Manual
Another way to use an asset catalog image is using the UIImage initializer, which is still the most common way used.
You can use it like this:
let image = UIImage(named: "ImageName") // UIImage?
While this lets you avoid the bad picker and is quick to type, it's easy to make a mistake in the image name, and returns an optional. This force you to handle the optional, even if you are completely sure that the image exists.
Method 3: Custom Initializer
The last method is to manually create an enum of all the images in your asset catalog, then use a custom initializer on UIImage to instantiate a UIImage from an enum case.
This is relatively easy to do. First, create an enum of the images in your asset catalog, using the actual name of the image (from the asset catalog), as the value for each case:
enum ImageName: String {
    case imageName = "ImageName"
    case anotherImage = "Image2"
}
Then, create an extension to UIImage such as this, which accepts a case from the enum we created and uses it to get an image:
extension UIImage {
    // Instantiates a `UIImage` from the `ImageName` provided
    convenience init(named imageName: ImageName) {
        self.init(named: imageName.rawValue)!
    }
}
Finally, just use the new initializer with one of the cases from the enum:
let image = UIImage(named: .imageName) // UIImage
While this method requires you to keep an manually updated enum of all the images in your app, it's unlikely that they will change frequently. Additionally, this allows you to avoid optionals - although your code will crash if you mistype an image name, it's now much less likely, because the only point of failure is in the enum instead of throughout your code.
Conclusion
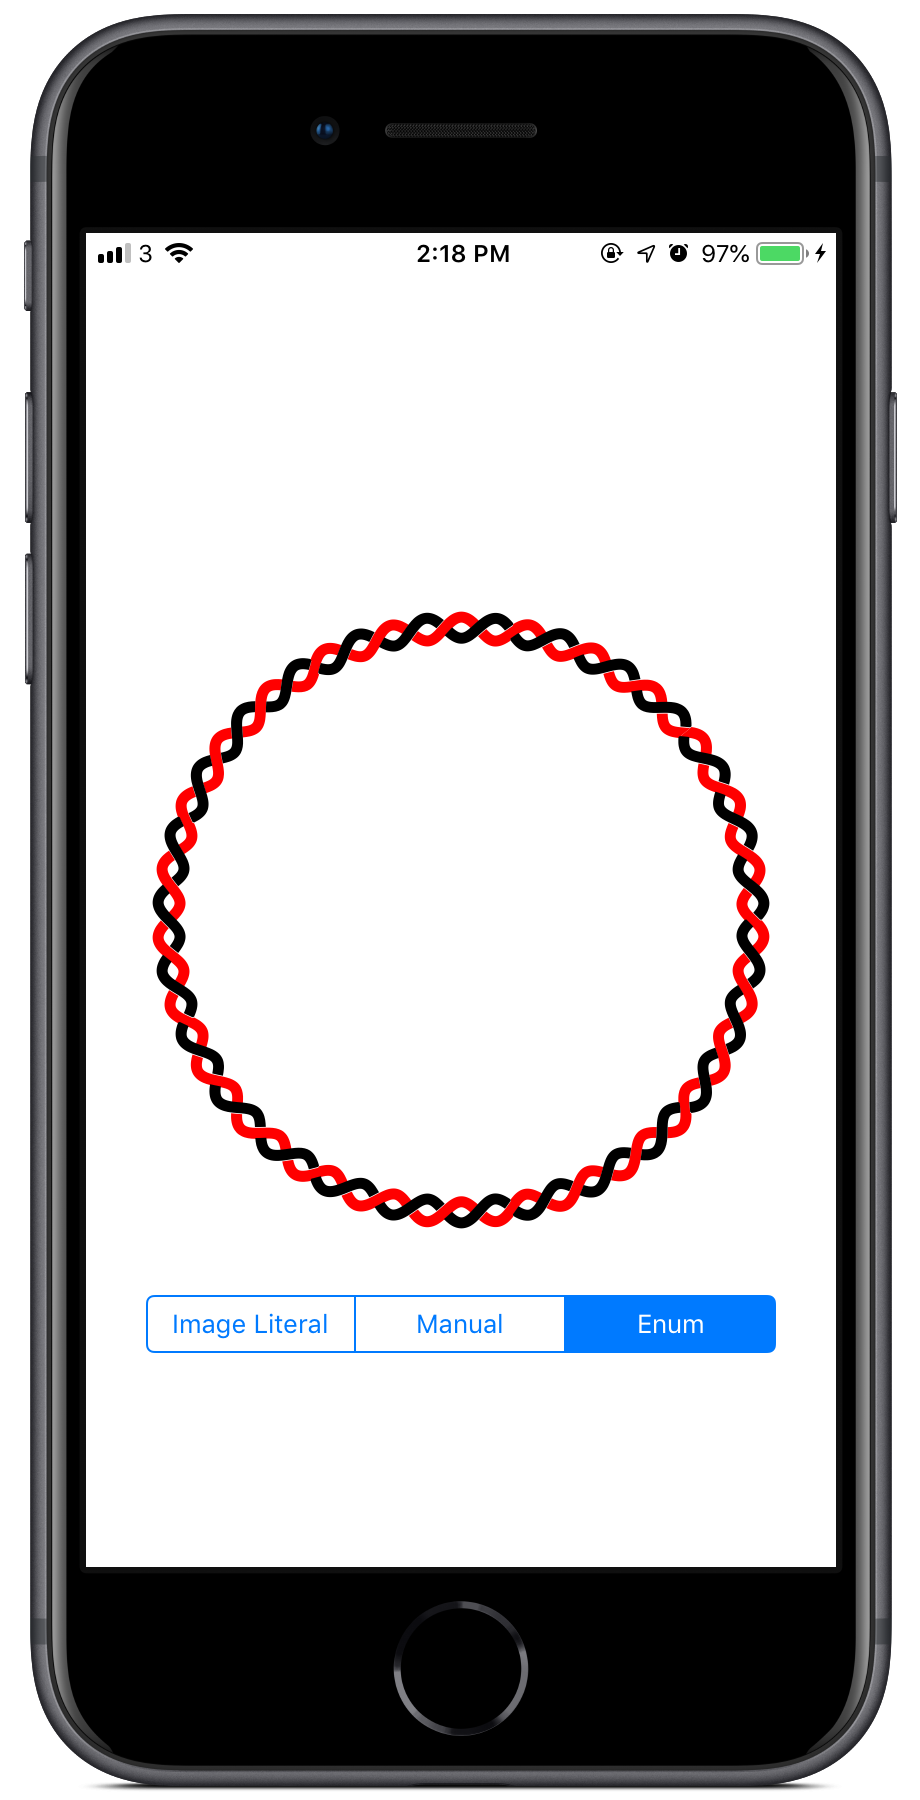
As we have seen, there are at least 3 different ways of using images from an asset catalog. The custom initializer is likely the best method, as it allows for a single point of failure and removes the optionals throughout your code, but image literals are also common.
For your reference, I've created an example Xcode Project containing a demo app, which lets you switch between the different methods and shows each image in an image view.
I hope this tutorial helped, whether you are just starting out or have been loading images from asset catalogs for years! If you have any questions or feedback, feel free to send them or email me: [email protected]. Thanks for reading 😎